You are here
135. Using EzeScan Desktop To Process EzeScan Server Exceptions.
In the example below we build a simple EzeScan Server Route+KFI to auto process documents. We also build an EzeScan Desktop Job+KFI to handle the exceptions generated by the Route+KFI.
1. Here’s how we setup the KFI that the ROUTE will use.
First we created a KFI that would be used during the ROUTE processing to capture 3 fields of data.
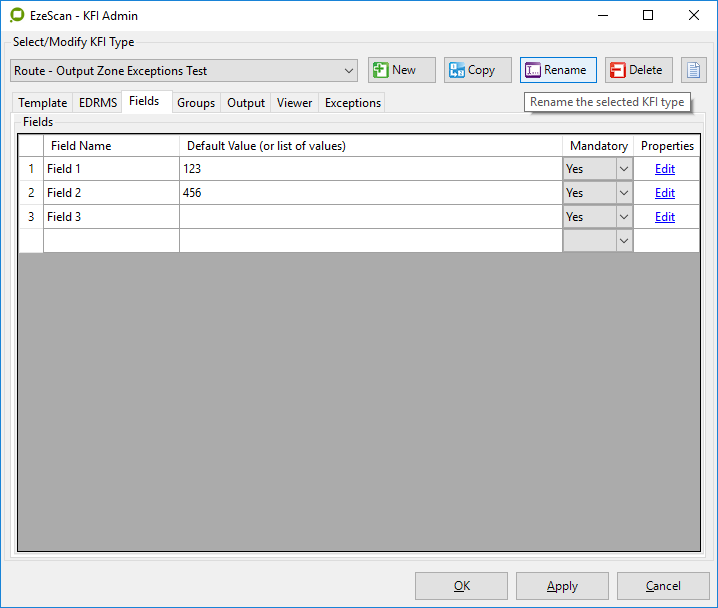
Started EzeScan, Press F7 to launch KFI Admin form. Created a new KFI as shown below:

Then we added 3 fields to that KFI. All were numeric and Mandatory. Assigned some default number values to fields 1 (123) and 2 (456) and left the third field blank.
The blank field should force an exception during the ROUTE processing. This should force the document to be handled as an exception, and send it to the Routes exception directory instead of the Routes normal output directory.
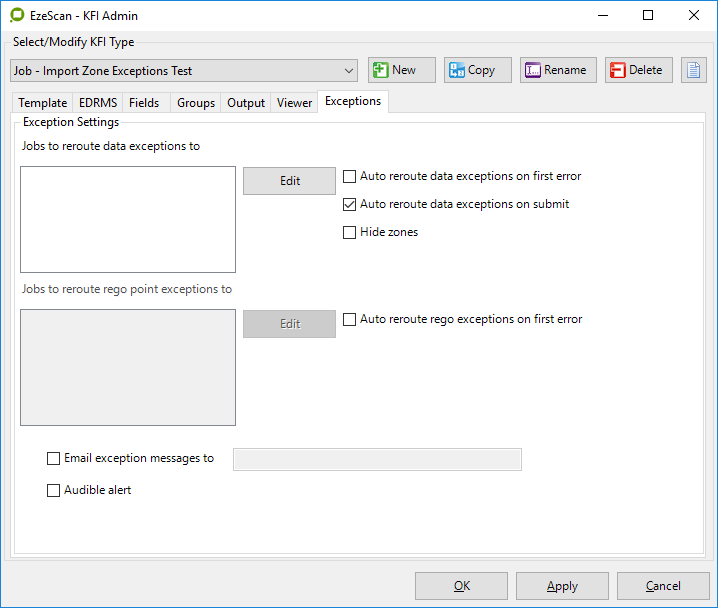
On KFI admin Exceptions tab we ticked ‘Auto reroute data exceptions on submit’. This allows an exception to be detected on any field, but the exception to be handled at the end of processing all fields. This ensures that will get all of the CSV output data from the KFI fed into the output CSF file that will be imported by the JOB+KFI for operator assisted exception processing.
2. Here’s how is setup the ROUTE and linked to its KFI.
Press F9 to start the Route form.
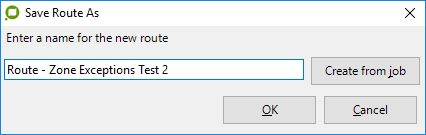
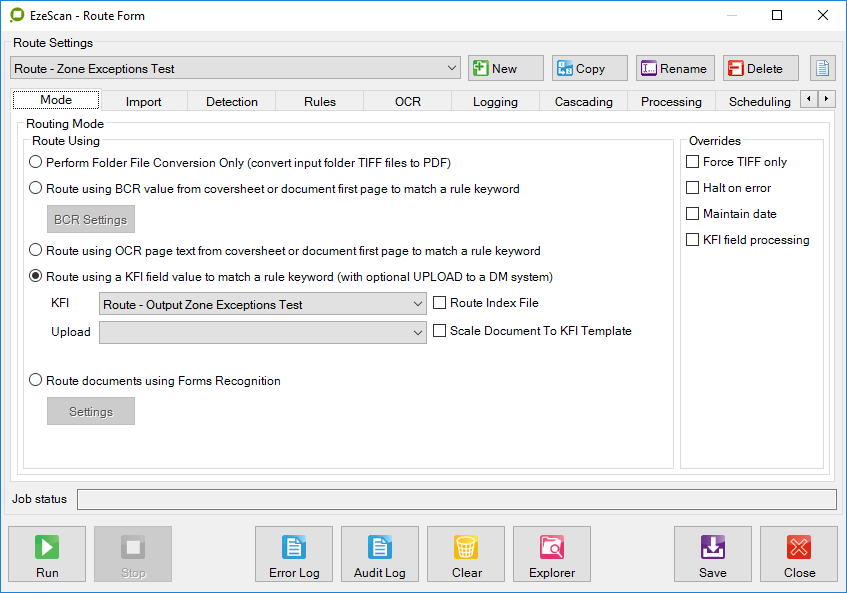
Press the NEW Route button to create a new Route as shown below:
On the Mode tab, set the Mode to ‘Route using a KFI Filed value’ option and chose the KFI that the Route will use to capture its field data.
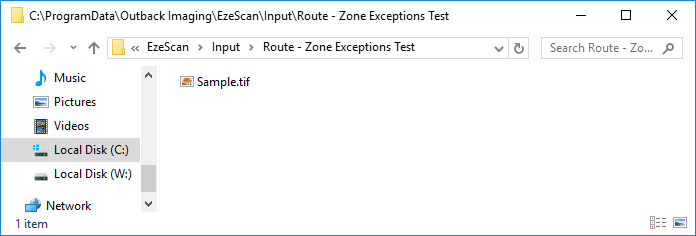
On the Import tab, setup the import directory where the sample images will be placed for processing by the route (e.g. C:\ProgramData\Outback Imaging\EzeScan\Input\Route - Zone Exceptions Test)
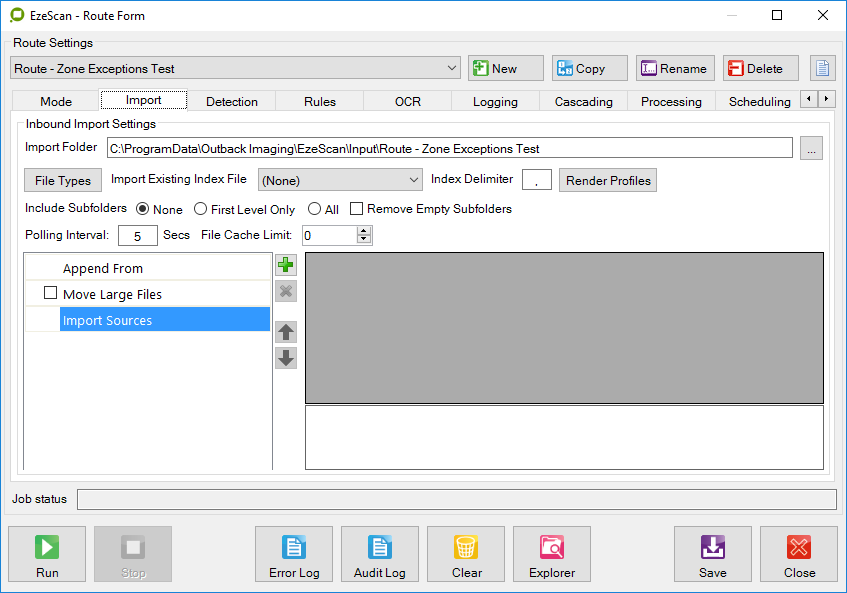
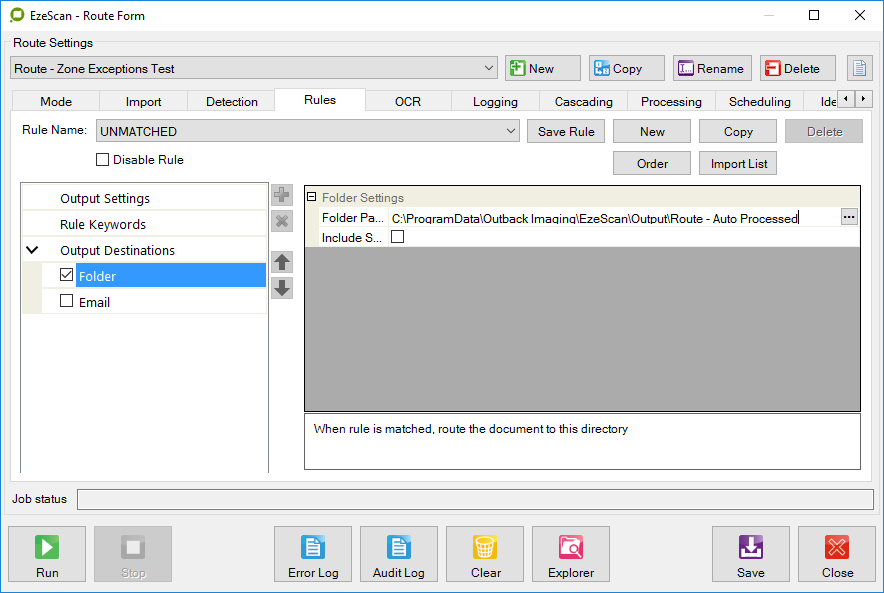
On the Rules tab, used the UNMATCHED RULE output settings to setup the directory where the successfully processed route output files are sent (i.e. those with no field exceptions) (e.g. C:\ProgramData\Outback Imaging\EzeScan\Output\Route - Auto Processed). We are sending an output PDF file and a CSV metadata file to this output folder.
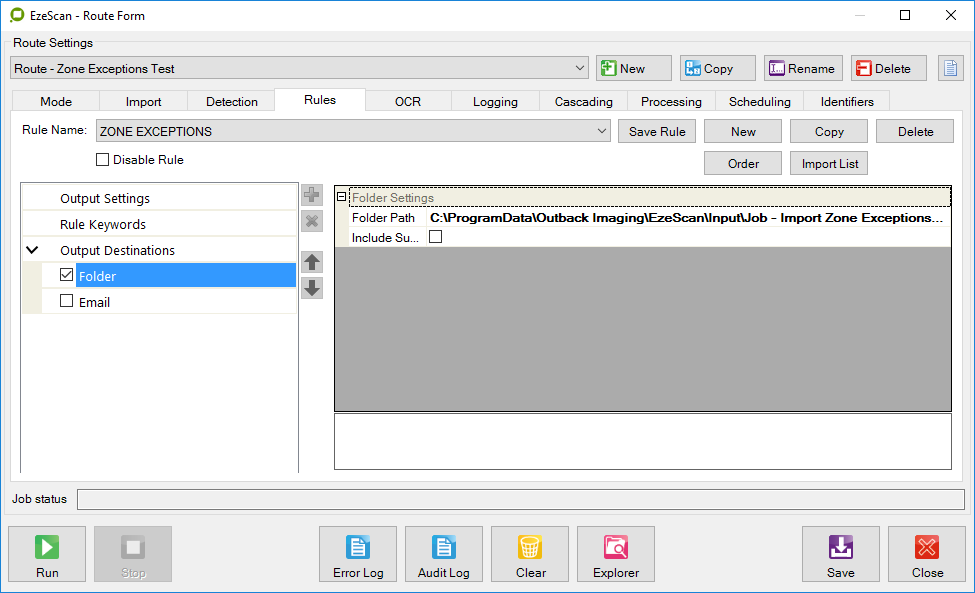
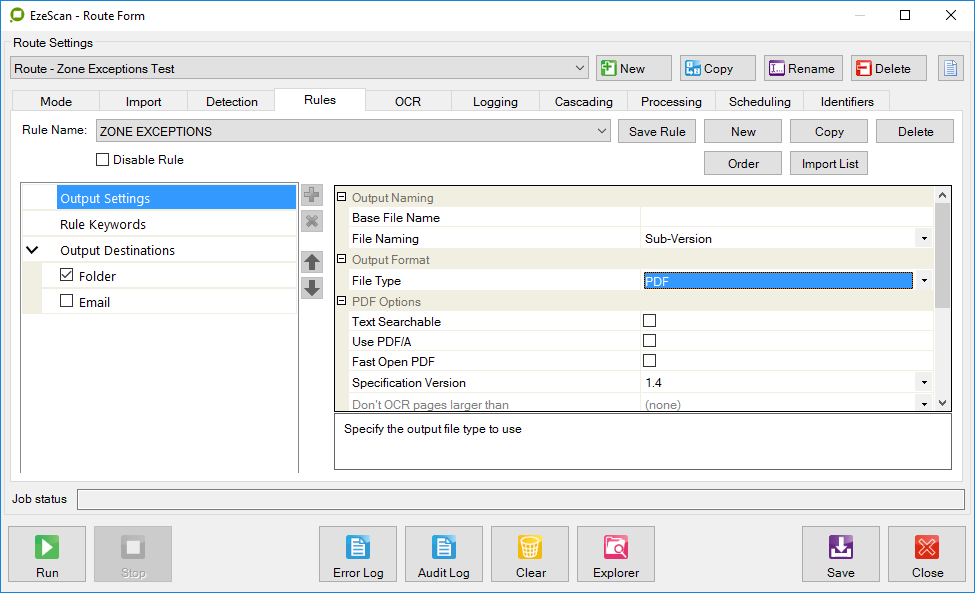
On the Rules tab, add a special rule called ZONE EXCEPTIONS.
Set the output folder path of this rule to be the same as the import folder used by your JOB+KFI (e.g. C:\ProgramData\Outback Imaging\EzeScan\Input\Job - Import Zone Exceptions Test).
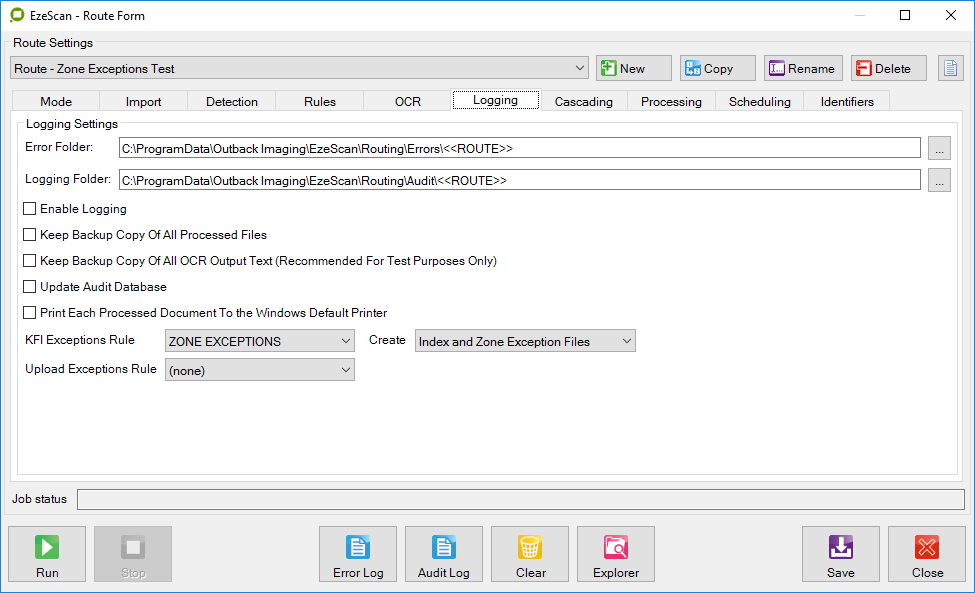
On the Logging tab set the KFI exceptions rule = ZONE EXCEPTIONS and set Create ‘Index and Zone Exception Files’.
On the Cascading tab.
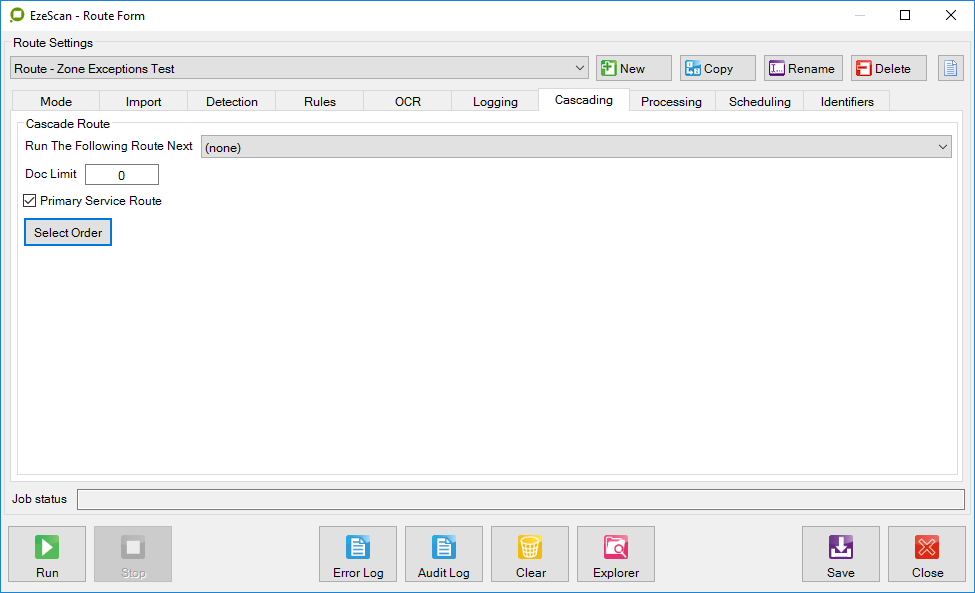
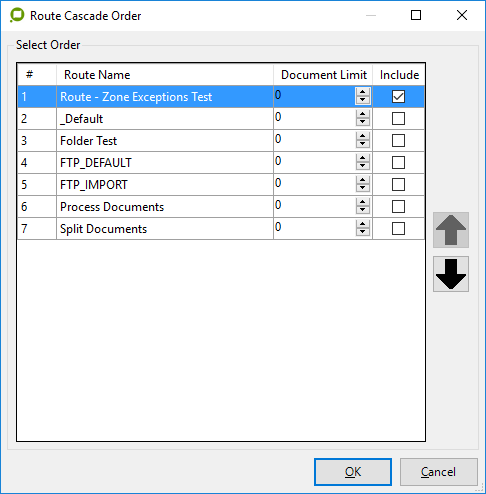
Use the Select Order button to launch the Route Cascade Order form and make sure your route is at the top of the list as the only route selected on the form.
The route is now configured. You are now ready to test that the route does generate an exception file.
Copy the c:\Program Files (x86)\Outback Imaging\EzeScan\Samples\Sample.tif
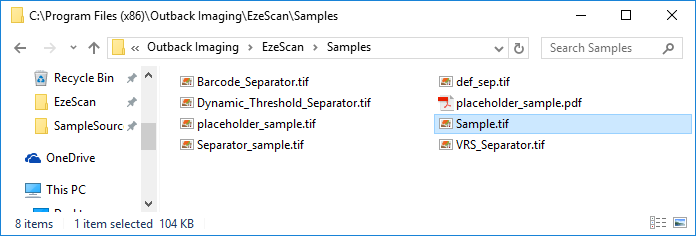
And paste it into the routes import folder.
On the Route Admin form, run the route. Press the Green Run/Play button.
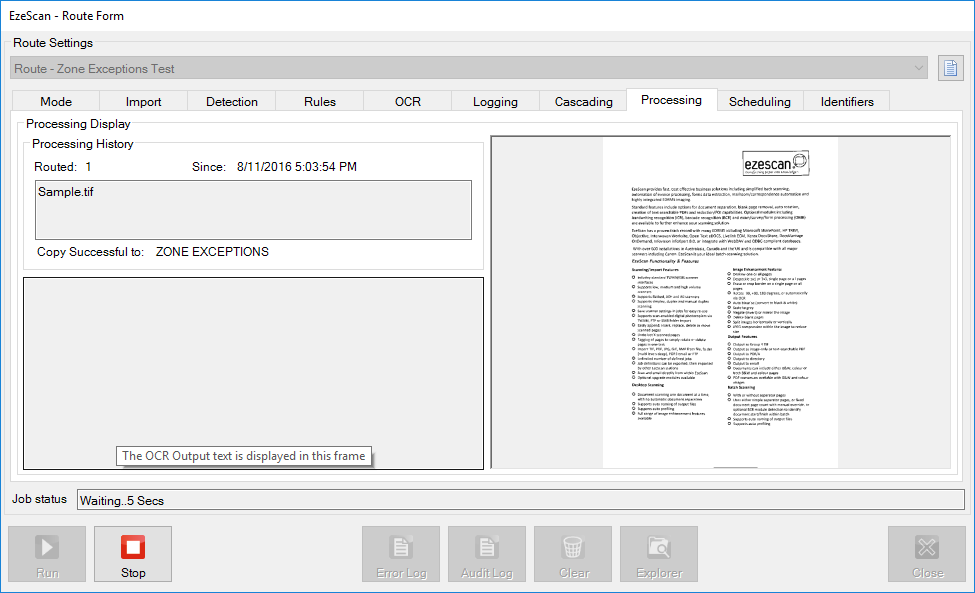
The sample.tif file is imported and processed by the route. An exception occurs because the 3rd KFI field was blank. The following output data was generated in the ZONE EXCEPTIONS rule output folder.
It generates a TIF only because the ZONE EXCEPTIONS rule is set to generate a TIF. You could change it to generate a PDF by altering the ZONE Exceptions Rule output destination file type to PDF.
Re-import the sample.tif, re run the Route and you would now get the exception image as a PDF instead of a TIF.

If you are processing the exceptions with an EzeScan Desktop Job+KFI then we recommend keeping the exception image as a TIF as it makes processing faster. This is due to the fact that EzeScan Desktop works natively with TIF, so any PDF”s have to be converted back to TIF before processing can start.
That’s the Route part of this exceptions processing sample finished. Don’t forget to setup the KFI properly for production use. Remove the default values and exception values that were used to test the exception processing behaviour, and configure the fields for production use.
3. Setting up a Job+KFI to process the exceptions generated by the Route+KFI
Start EzeScan. Press F6 to launch the Job Admin form.
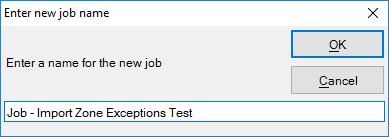
Press the New Button to create a new Job.
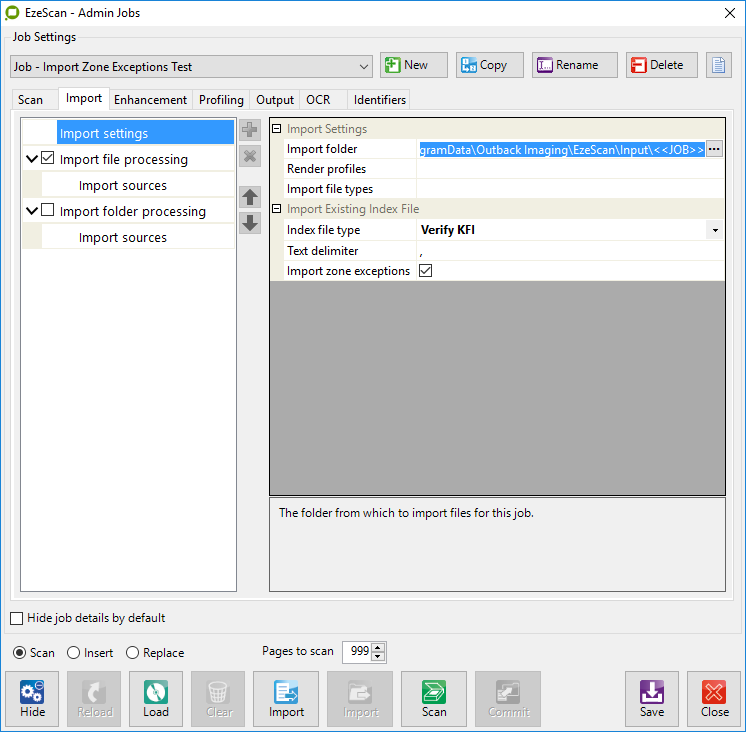
On the Import Tab.
Set the index File Type = Verify KFI.
Tick the Import Zone Exceptions option.
Make sure the import folder matches the directory location you used for the Route ZONE EXCEPTIONS rule output directory.
Save and close the Job Admin form.
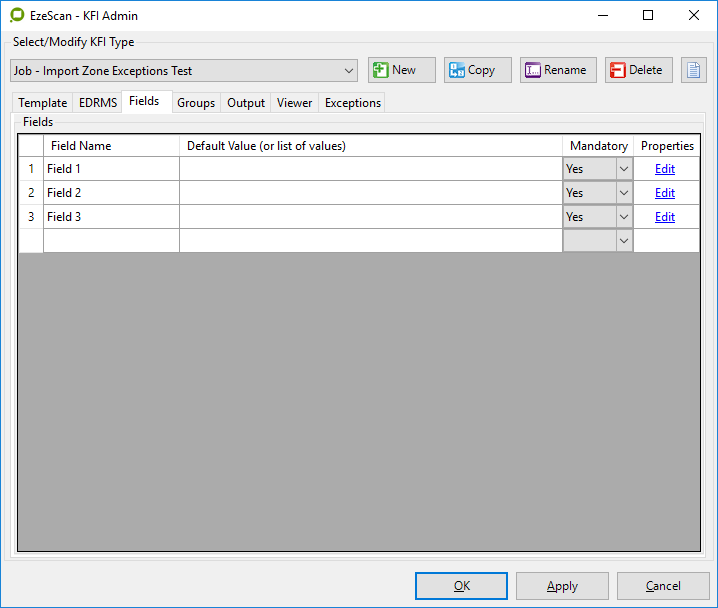
Press F7 to launch the KFI admin form.
Press the New button to create a new KFI:

Create the same 3 fields you used in the Route KFI.
But this time don’t set the default values.
The values will be imported from the CSV .txt file (that belongs with each TIF or PDF file) that were generated by the Route ZONE Exceptions rule.
Press OK to close and save the changes.
Press F6 to launch the Job Admin form.
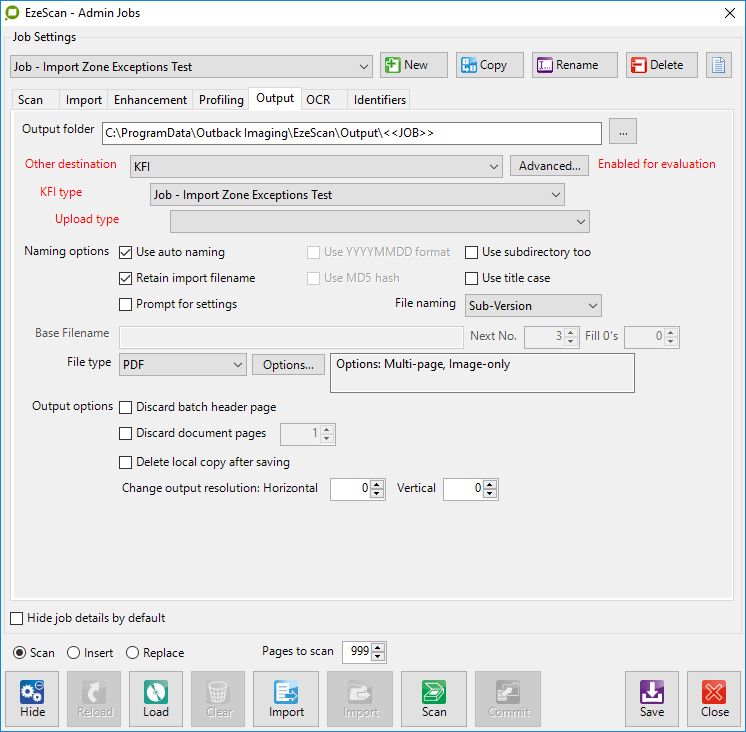
On the Output tab, set the Other Destination to KFI
Then set the KFI Type to match the KFI name that was created for the Job to use.
Tick Retain Import Filename.
Select the output File Type as PDF.
Save these settings. You are now ready to run this Job+KFI. On the Job Admin form press the Import button.
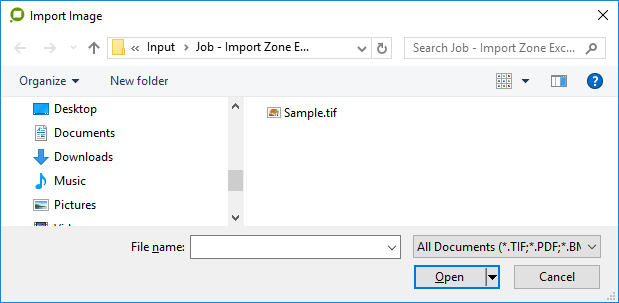
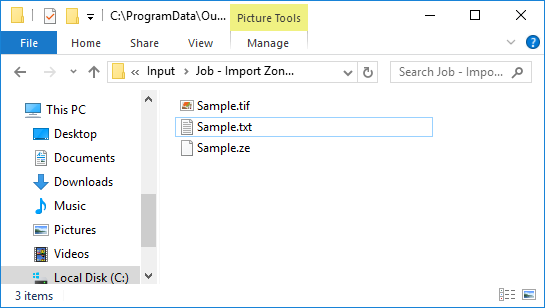
Select the Sample.tif exception image.
(Note the import directory does include the Sample.txt file and Sample.ze file, it’s just that the filter is restricted to showing only image type documents).
The exception image is loaded into the EzeScan Desktop viewer.

Press F4 to profile the document. The list indexing panel is displayed.
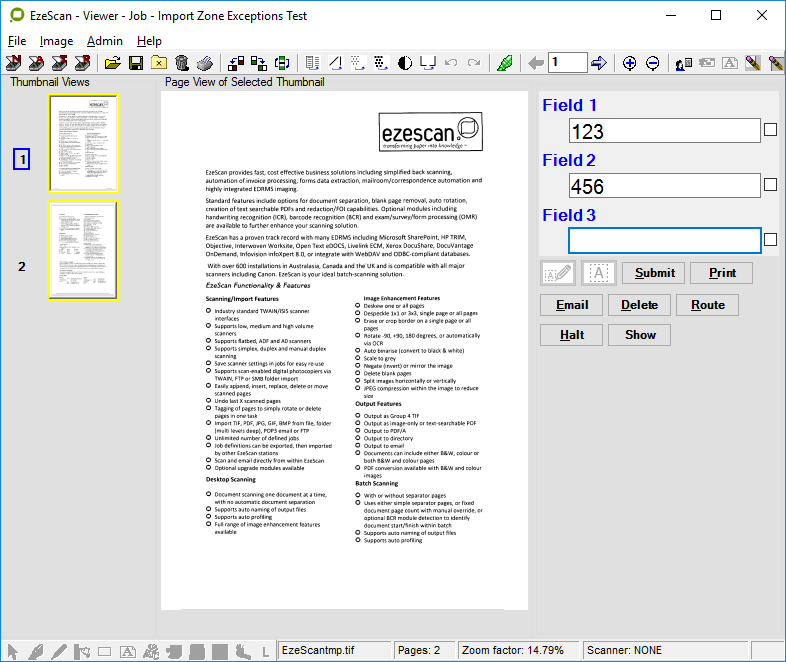
The values in fields 1 (123) and 2 (456) have been read from the CSV Sample.txt file that accompanied the exception image Sample.tif.
The data entry operator can now verify/update the data:
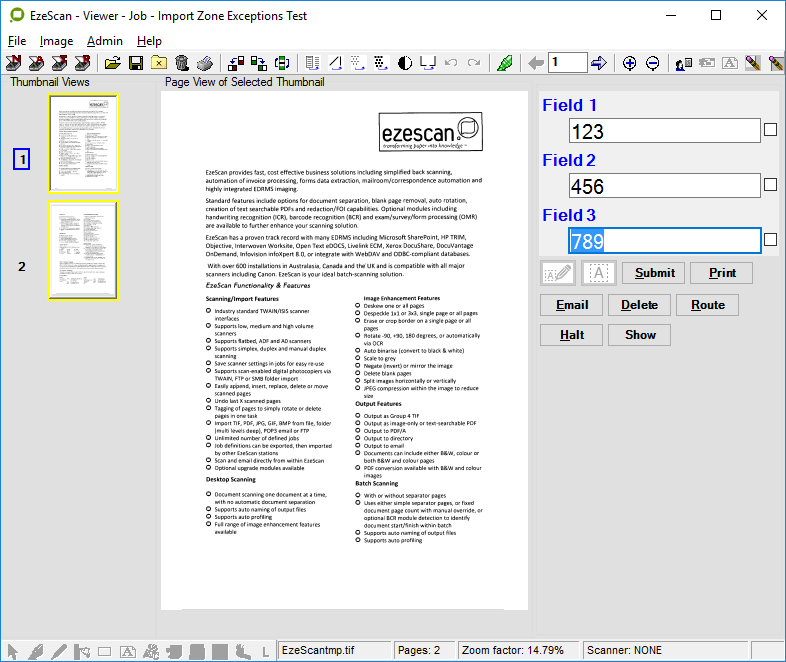
Once the field data is updated and verified the operator presses the Submit button.
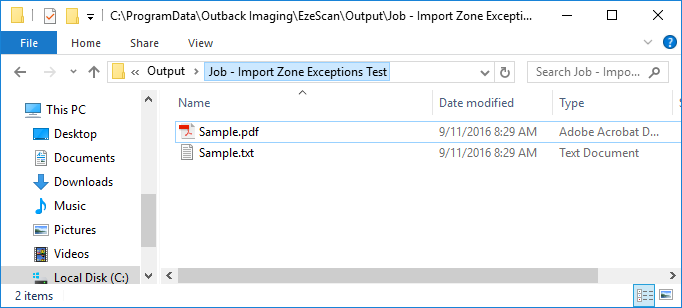
A PDF file and CSV file are then written into the job’s output folder.
This is a simple example of how to set a Route+KFI with exception handing, and then using a Job+KFI to allow a data entry to finish the data entry for each exception document.
In production the KFI used will most likely have more fields, and those fields will be deriving their values using a recognition engine (OCR, BCR) or Discovery.
You could easily replace the EzeScan Desktop Job+KFI with an EzeScan RIA Webapp to perform the exception document handling.
Direct link to FAQ